Learning new tools can be a bit challenging at first, especially if you're new to the design world. This guide will explain how to use Figma's 'Find and Replace' feature. This tool comes in very handy when you've mistyped a word and repeated it in your design. Rather than fixing each one individually, 'Find and Replace' allows you to correct all instances at once!
Finding the 'Find and Replace' Tool
The first step is to locate the 'Find and Replace' tool. Look for a search icon on the left side of your Figma screen, near other tabs like 'layers' and 'assets'. Click on this icon to open the tool.

Alternatively, you can also use keyboard shortcuts to open this tool: press Command key (⌘) + 'F' on a Mac, or Control key (Ctrl) + 'F' on a Windows device.
Using 'Find and Replace'
After opening the tool, type the word you want to change into the search bar.
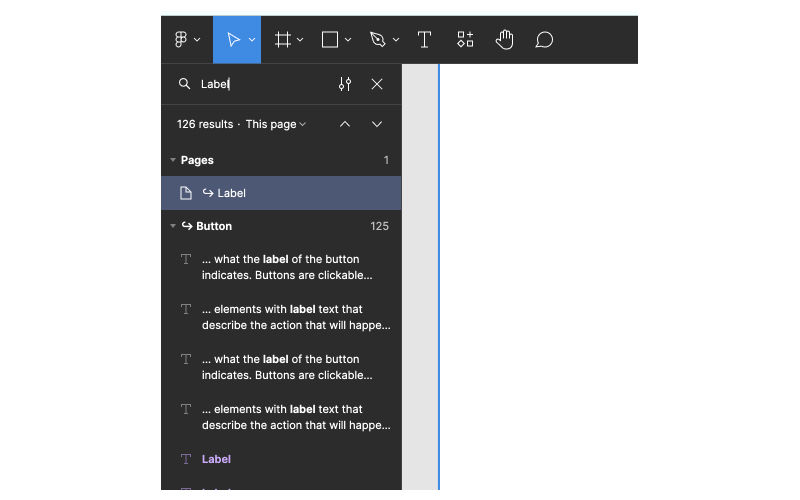
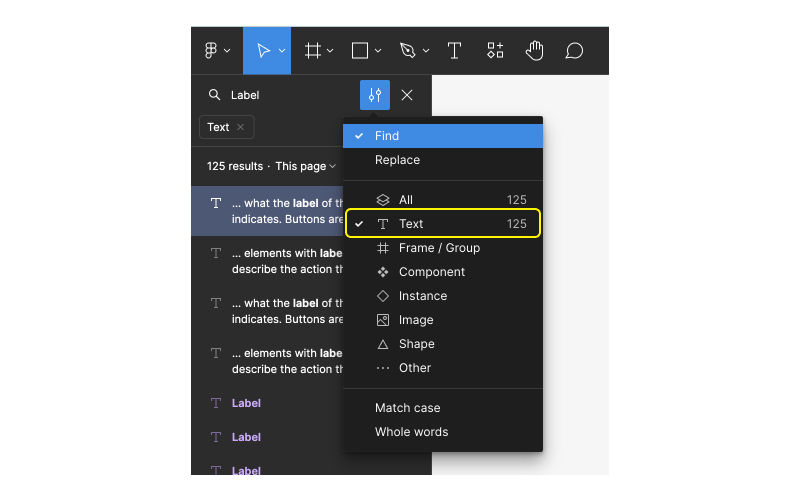
You can additionally select the "Text" option from the Menu to make sure no other elements such as frames or component names are selected.
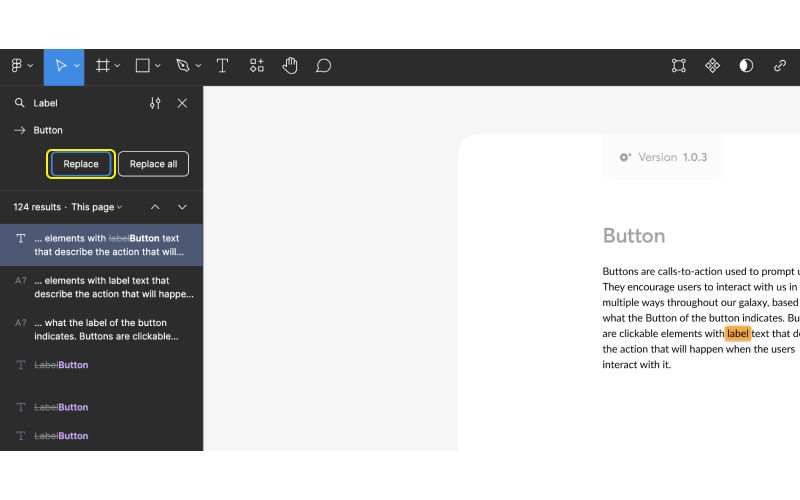
Figma will show all the places you've used that word in your design by highlighting them in yellow. The first usage of the word, or the one you've selected, will be highlighted in orange.
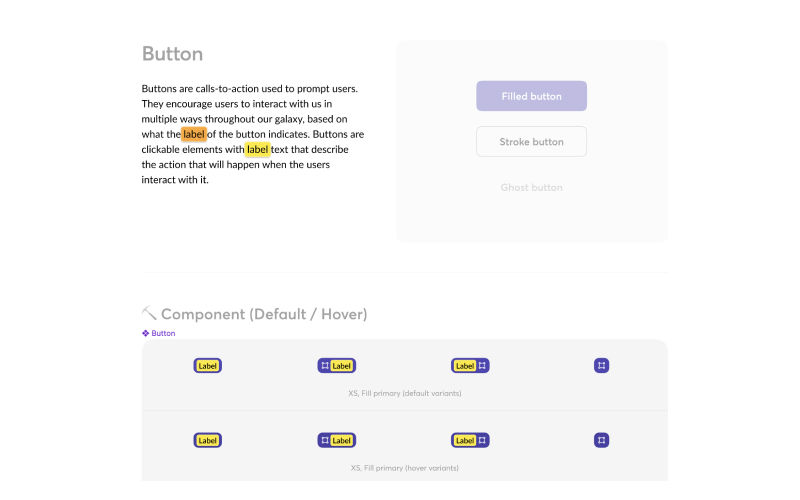
If you want to replace the word in one specific place, you can move between the highlighted words using the Up and Down arrow keys on your keyboard.
Replacing Text
Once you've found the word you want to fix, click on the Options Icon and choose “Replace”. A new box will pop up where you can enter the correct word.
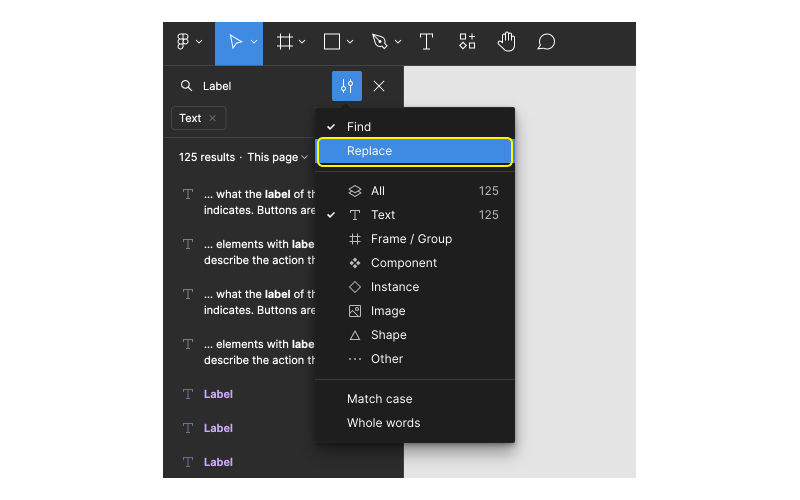
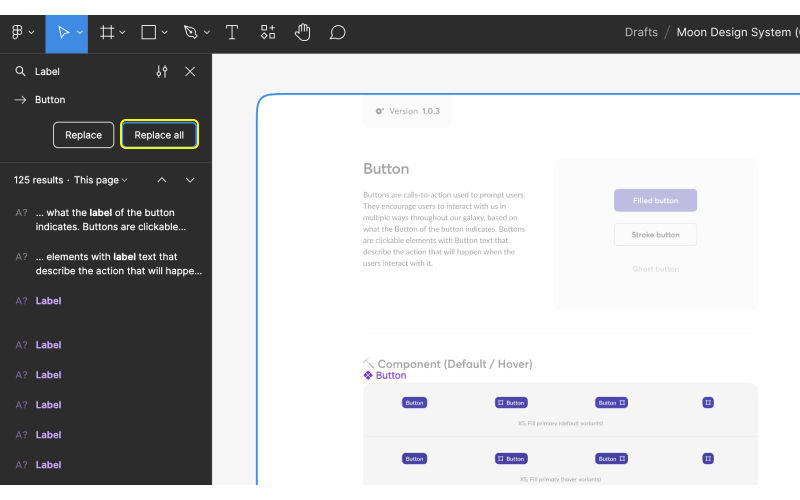
After you've entered the new word, click the “Replace” button to change one instance of the word (the one highlighted in orange), or “Replace All” to correct every occurrence of the word in your design.
Congratulations! You've successfully used Figma's 'Find and Replace' tool. With these handy features, Figma simplifies the design process, letting you focus more on your creativity and less on fixing mistakes.
Please note: The images in this guide are for illustrative purposes only.

